Tuesday, October 20, 2015

My First Length Check….
You guys!!! It has indeed been a long time since I talked to you last. Let me start out saying I have not been forgotten you. I just didn’t feel that I had much to talk about. Since July, I have been wearing my hair out and mainly doing twist outs along with co-washes and deep conditioning weekly. And I have finally made it to eleven months post relaxer!!!! Isn’t that crazy to think about? I have already decided my big chop date and I look forward to the end of this transition. However, I am scared about the loss of length…..Which led me to do a length check yesterday. Before yesterday, I had not blow-dried and flat ironed my hair in over ten months. Let that sink in for a moment. Yes, ten months. That is a long time!!! So I was naturally curious to see how my hair would respond to the heat and how healthy it would look. The first two pics are in the spring of 2013, and the others are from yesterday. I’ll let you be the judge…..


My conclusions:

My hair is a lot healthier, fuller, more even, and softer than it has ever been. I obviously did not iron it bone straight and my iron was on its lowest setting-365˚. On most of my hair, I only did one pass through as well. I was really afraid of damage.  But the difference is startling. Seeing how resilient and strong my hair responded to the heat (mainly without damage) just assured me that going natural was the best thing I could have done for my hair. It will be a while before I do this again, particularly because I want to have some progress made between checks and that takes time. But the next time I do a length check, I will be completely natural!!! 

Sunday, August 30, 2015

Perm Rods and a Straw Set...

So since the end of July, I have been wearing my hair out to give it a break from braids and try a new method of washing. I co-washed every Tuesday and Friday, using Naptural85 method of using coconut oil to detangle and condition to wash, sealing with a leave in and argan oil. My hair has been much easier to detangle but I don't think I saw much growth this month as it was a little more manipulation than I've done the whole time I've been transitioning. So I'm going back to my old regimen and will probably stick to that. Well, washing that often forced me to find some styles I could do that would be fairly easy to recreate but wouldn't use heat. Last week I experimented with two new styles....perm rods and straw sets. Here's how they looked (first 3 pics are the perm rods):


I don't know if I'll be attempting them again but at least I can say I have haha.

Happy Hair!

Monday, July 27, 2015

Twist Out Success!!


You guys!!! I’m so excited! My transitioning hair exceeded my expectations in a style! Anyone who has experience with transitioning hair (firsthand or witnessing) knows that being able to blend the two textures is seriously a work of art (not really, but pretty close). That being the case, that’s part of why I haven’t been too fond of wearing my transitioning hair free (with no braids). Well, I’ve been testing out a theory (no spoiler there) and needless to say, on freshly washed and conditioned hair, I decided to put in some twists and coiled my relaxed ends with some foam rollers (that’s all I had). They dried pretty quickly and I pinned them to my head the next day. I realized that I should've put some creamy product in when I originally put the twists in so two nights from wash day, I spritzed the twists with Aloe Vera juice, applied a  little bit of coconut shea pudding, lightly oiled with coconut oil, and rolled them into bantu knots to sleep on. Sunday morning before church, I took the knots and twists down and was pleasantly surprised by what my hair did!!


Wednesday, July 22, 2015

July Box Braids and Braid Out...

My July Box Braids....These took me about a day and a half to put in. They stopped at boob length and as you can see, the parts were a little smaller than last time. I think I liked these the best.


After I took these down( I got three and a half weeks with these), I wore my hair in a braid out...without detangling (becuase I was lazy). Not the greatest idea because wash day was horrific but at least I looked cute right before lol.


So yeah. I have another blog coming up about my new theory... Stay tuned!

Happy Styling!

Monday, July 20, 2015

Eight Month Wash Day!

Oh my goodness! You guys, I washed my hair yesterday and finally detangled it…It took me three hours to detangle my hair. I think the main reason for that is because I had worn a braid out after having braids for 3 ½ weeks, so all of the shed hair was kind of clumped in the unseparated hair. Also I used my fingers for 97% of the process. But nonetheless, after detangling, my hair felt a whole better and I got so excited. I can see so much progress now!!! My natural hair is about an inch and a half to two inches (with the shrinkage!) so stretched I get almost three inches!!!! That is amazing!!!! This is 8 months into a transition, with ugly relaxed ends in the way, and I had no idea what I was doing! As I detangling sections yesterday, I was so stoked seeing the very clear and defined curls with no product but conditioner drooping past my ears and that was without me stretching it! I seriously considered doing a length check because I would love to know how long my hair is now all over, but then I thought maybe I could do that at the year mark in November because then it would be even more shocking and astounding to see the difference. I know my hair is healthier, thicker, more manageable (at least the natural part is), more interesting, and fuller than it has been in the past 7 years. That is crazy to see the difference between pictures of my hair from last Christmas and my hair now. I can’t wait to see how much more progress I can get in the next four months.

 
Something else I’ve been thinking about is…. Should I big chop in November or try to go longer? I know everybody does what’s best for them and even if you think you’re ready to chop, it’ll still be an adjustment period because your hair will be different. I’m just debating with myself if I would be truly ready to embrace the loss of length for the small adjustment period while remembering I would be stoked to not have to deal with relaxed ends ever again. The lazy side of me is  convinced that heck chopping now would make my life easier, at least for styling and manipulating. But the proud side of me is saying that my hair would be too short for me to feel completely comfortable with it hitting right above my chin or shorter. I don’t know what I’m gonna do. I guess we’ll cross that bridge when we get to it. What are your thoughts on the subject of big chop? When did you do yours?


Friday, July 10, 2015

Eight Months!!!


July Braids….

Hey friends!!! Wow, I have been busy lately, but I figured y’all might want an update on how my hair is doing. I had large braids in May during vacation but had an epiphany a little late. The larger the part and the larger the braid, the quicker the installation but also the quicker it becomes frizzy. I do not like frizz, and I try to do my best to maintain it since it does come. But those braids, being the biggest ones I had ever done, got so frizzy within two and a half weeks. I could not stand it, so I took them out. I let my hair rest for about two weeks and quickly realized why I had managed to keep installing braids haha. My transitioning hair is not fun to deal with at all, so at the end of June, I put my braids in. They are smaller than I’ve been wearing, but the smaller part and smaller braid allows me to stretch the wear time out longer. Even at two and a half weeks (washing once every week and a half), I feel like maybe I can make it until August? I definitely hope so.

 I am currently in Month 8!!!! Eight months without a perm or big chop! I feel like doing a little jig! It has been a long and tiring road. My original goal was to transition for a year before big chopping, and I’m still leaning toward that date. But it really depends on how much growth my hair has retained by then. I’m just glad to have remained resilient for eight months. I’ve also minimized the amount of heat I place on my hair. I haven’t blow dried or flat iron my hair in over six months, and for me that’s a really big deal. At one point, I was doing both every three to five days.

 Anyway, I plan on keeping the routine of braids for a month, rest for two weeks, and then repeat with plenty of moisture and sealing. I’ll check in soon.

Happy Braiding!!!

Tuesday, May 26, 2015

Journey Beginnings....

Hey friends!

So the other day I realized that you guys don't know what led to me starting a healthy hair journey. They say that "a picture is worth a thousand words." Well, I want to share some pictures with y'all of my hair before my transition. I'll let you be the judge.


All of these pictures were taken from March 2012 to April 2014, and a few months later I decided to start my transition to natural hair. The pictures show only parts of the damage; I often hid as much damage as possible.
 
 Happy Growing!

Monday, May 25, 2015

Updated May photos...


Updated photos….

So I don’t know if you have seen my hair as of right now, but I figured I should try to take photos each month. Here’s what conditioning looked like on wash day. This is where I am in month 6  of transitioning…It’s been a long and winding road but I’m slowly getting hope for this hair of mine. This wash day really allowed me to see the potential in my hair and my curls are slowly getting more defined. I measured about 2 inch of natural hair(while it was dry) so the shrinkage is serious, but that’s okay. I trimmed a little bit of relaxed ends in the front because it was just too uneven but next month, I’m considering doing a full trim all over. My goal was to make a year transitioning but the line of demarcation is a full battle zone every wash day… We’ll see how it goes.

Happy Growing!


Monday, April 27, 2015

Box Braids Revisited...


Box Braids Revisited…

As you all know, I’ve been transitioning for the past five months and my protective style of choice has been box braids. I did a blog a while back about the first two times I installed them but I figured it was time for an update. Well, my main struggles with box braids were how to minimize installation time and seal the ends. I realized that my parts had been way too small and thus the braids themselves were small which created more time involved in installation. So I decided this time (3rd time) to use huge parts and proportionate braids to cut down time. And it worked! My parts were huge (next time, I’ll go slightly smaller) and the braids were much bigger but my installation time went from 4 days (with breaks to take care of my family) to 5 ½ hours!!! That is a HUGE difference!!!! That was the fastest I’ve ever done my braids! Here’s what they look like after almost 3 weeks…

To seal my ends, I dumped them in boiling water and then lightly burned a wrapped piece of hair with my flat iron. I used 7 ½ packs of Jumbo Braid Kanekalon hair and like I said it took me 5 ½ hours. Another thing to note was that the braids are only boob length or bra strap length. The longer the braid, the longer it takes. Also, be sure to wash and condition your hair while it is in braids. Dirty braids are not cute;  I wash my hair once a week and I use a spray bottle filled a mixture of aloe vera juice, coconut oil, water and my favorite leave-in conditioner and moisture butter. to keep my hair moisturized once a day. Hopefully this helps.

Happy Styling!!!


DIY Deep Conditioners....


Hi friends! I recently tried my hand (and hair) at a do-it-yourself deep conditioner. I figured it would be an experiment that may result in me saving some extra money on product. The first recipe I used was a homemade deep conditioner/ protein treatment. Keeping in mind I had no idea if my hair was protein sensitive or not (it pays to know your own head), I whipped this recipe up and placed it in my hair.

First Recipe:

                   1 cup regular Mayonnaise

                   1/3 cup plain yogurt

                   1/3 cup olive oil (or coconut oil)

                   2 tablespoons honey

                   plastic conditioning cap

In a glass or ceramic bowl, whip all ingredients together and stir until evenly smooth. Apply to wet or damp hair, cover with plastic conditioning cap and leave on for one hour before rinsing.

*You can substitute the yogurt for two eggs.

Background:

Remember that I’m in the middle of transitioning? 5 months into transition, so there is a TWA meets relaxed ends situation. Well my natural hair seems to be coming in as a 4a-4b texture, but I still have quite a bit of relaxed ends. I followed the directions and substituted the yogurt for two eggs.

My results:

Disastrous. The natural hair felt over moisturized to the point of mushy while the relaxed ends felt like straw or hay. I had no idea my hair could feel like that… and not in a good way. I ended up rinsing all of that out and going back to my old faithful conditioner for the week because I couldn’t walk around like that. Would I recommend trying it? Only if you know your protein tolerance. If you’re not sure, test a small section first. But it is definitely protein rich.

So then I decided to research some more into other DIY deep conditioner options. I found another recipe; this one was for heads that were protein sensitive. One of the symptoms of being protein sensitive is that after trying a conditioner that is protein rich (like the one above- remember the eggs), your hair fails to be moisturized and feels like straw.  I still wanted to save more so I figured “why not?”

Recipe:

·         1 banana

·         1 cup of aloe vera

Mix these in a blender on your smoothest setting. Strain the mixture through a strainer with TINY, TINY holes.

·         ½ can of coconut milk

·         ¼ cup of olive oil

·         Optional: oils of your choice

Whisk all of this together until smooth. Paint the mixture into your hair from scalp to end. Saturate under a plastic cap for 30 minutes-1 hour. Rinse out and style as usual.

Background:

It’s wash day and my hair is already clean from a co-wash. I don’t have a strainer with TINY, TINY holes, but I have a colander with small holes.

Results:

OH MY GOODNESS!!!!!!!! I have banana bits stuck in my hair!!!!! Not fun at all!!!! But my hair was moisturized. It took me three washes to get MOST (not all) of the banana out of my hair, but once that was out of the way, it felt soft and clean. However, next time I’m not trying the banana in the mixture, even if I had a strainer. Would I recommend it? Yeah, I think so. Just make sure your strainer has very, very fine strains to catch blended banana pulp. Banana in your curls is definitely not worth the hassle otherwise.

Conclusion:

Before trying any new products or concoctions, know your own hair. Follow directions and when in doubt, have plenty of your tried and true products on hand. You never know when you may need them. Test a few of your strands first before painting all of them into a product. Trial and error is simply that trial and error. Sometimes things work and sometimes they don’t. But it’s fun to learn during the process and laugh later.

To Happy Curls!

Monday, March 16, 2015

Testing Your Patience...


Definition of patience: “the capacity to accept or tolerate delay, trouble, or suffering without getting angry or upset”

Working with natural hair and transitioning hair is definitely a test of patience. Deciding to learn your hair textures and how to be gentle with your strands is not for those who want instant gratification or quick results. Beginning a healthy hair journey or continuing a healthy hair journey forces you to find out your patience level. You will have to increase your capacity to accept and tolerate delay, trouble, or suffering without getting angry or upset.

Tips:

1.       Always allot plenty of time to style your hair, especially if you’re transitioning or trying a new style. Rushing through your hair because you’re pressed for time or have somewhere to go is not a good idea because you can cause breakage or damage.

2.       Don’t do your hair when you’re not calm and peaceful. Your emotions should be a peaceful state because you can cause damage if you’re angry, stressed, sad, etc. If you have the time, choose to do your hair later. Better to style it later and take your time than to undo any progress you’ve made by attacking your hair in a bad mood.

3.       Enjoy your hair today. Being stressed and worried about your hair will not make it grow faster; in fact, it will inhibit it.

Wednesday, March 4, 2015

Box Braids....


Box Braids…

I recently ventured into the world of natural hair and I researched a lot of hairstyles to find out what could work for me during my transition. Twist outs and cornrows had long worn out their welcome so I figured I’d try something new. I had already done crochet braids but wasn’t a fan of not being able to get to my whole scalp effectively since my real hair was hidden in cornrows. But I knew that my best bet was to find a protective hairstyle that worked for me. Hence research into box braids….

I looked up many Youtube videos, blog posts, articles, and hair forums on the style to get an overall consensus about what I was getting into. There were of course many tips and warnings about box braids but I’ll give you the main ones.

Tips included:

1.     Find out if you want to install your hair or if you want someone else to do it. I chose to do my own hair since I had the time and it worked with my lifestyle.

2.     Can you afford the cost? To have someone else do it will cost more money but save you time. To do it yourself will cost more time but save you money.

3.     Prepare yourself with plenty of patience and time. Seriously evaluate your braiding skill. If you are a beginner, that may affect the neatness and overall look of each braid if you choose to do your own hair. Even if someone else doing your braids, you will still be sitting in the chair for a substantial amount of time. (At least 4-6 hours, maybe more) The first time I installed them, it took me a solid 12-13 hours. The second time, it took closer to 19 because the parts were smaller, hence more braids.

4.     Determine how long you want the braid to be and the kind of part you want. Length and parting directly affect your hairstyles, look, and installation time.

5.     While wearing your style, you will still need to take care of your own hair underneath. Be prepared to routinely moisturize and clean your scalp because the style will work only if you take care of it.

6.      Beauty is not pain. Braids that are installed too tightly can cause breakage and hair loss from the root. The braid should be firmly attached but not painfully placed.

7.      Know that the extension hair’s texture does affect how smoothly installation goes and the overall look. The first time I tried box braids, I came across some really cheap Kanekalon hair ($1.59 a pack) but as I tried to separate it to apply it to my hair, I found that it tangled extremely easily and it did not braid neatly in comparison to another brand that was a little more. So I grew more frustrated trying to untangle it when I could’ve just spent about 50 more cents for a much more manageable brand. Be aware of the quality you could be receiving when getting the absolute cheapest pack in the store and know your beauty store’s return policies. Many of the stores I’ve seen will not exchange or accept purchased extensions. 

8.     Practice makes perfect. My first time was exactly that: my first time. My second time installing box braids took longer but I had worked out a system for what worked for me. I found that having plenty of space, adequate lighting, a comfortable chair that I didn’t mind hair getting on, and an old sheet on the floor to catch the excess hair made things a whole lot easier for me. Taking plenty of breaks as well and having plenty of entertainment made the time go by smoothly. I also noticed that I still have room to improve, mainly towards the ends. I haven’t completely mastered neat tapered ends, but they are much neater than the first time.

Often people get burnt out on the look of box braids because they don’t look up hairstyle options for box braids. There are plenty of ways to style your braids to have a fresh look every day. Simply search for box braid styles on Google or Youtube. Hopefully this has been helpful for you and know there are plenty of videos on the subject of box braids online. Leave questions and comments down below!!! Happy braiding!!!

Tuesday, March 3, 2015

Starting My Natural Hair Journey…


Hi friends! I would like to introduce myself to the natural hair world haha.

A little bit of background:

I grew up in the South, Deep South where humidity, heat, and hot grease were as common as a north wind brings cooler weather. I was born with a head full of thick black curls and I loathed having it combed or styled. My mom eventually grew frustrated with the constant tug-of-war with me every day just to make me presentable, so at the tender age of three, she put my first perm in my head. Yes, it straightened my hair to become a little more manageable but something else had begun that day as well. Going to get my hair done became a constant and of course it grew but it also broke off and so my roller coaster got started. For those who don’t know what I mean, the rollercoaster of relaxed hair(in my experience)is your hair grows, you get a retouch, it breaks a little, you get a wash and set, it grows, you get a retouch, it breaks a little, you get a wash and set…and so on for years. Now I’ve been to several hairstylists and have the dreaded haircut (where someone cuts your “ends” but cut way too much), I’ve had the breakage, and I’ve had the spurts of growth/hope. When I left for college, I began doing my own hair because a college student rarely has much money to blow on hair, so I started using the DIY box perms. I didn’t see much difference between me spending $65 for someone else to do my hair and me spending $10 and a few hours to do it myself. One of the other problems I couldn’t understand was why my hair seemed like it was constantly dry, even after putting product in it. After all these years, my hair only barely skimmed my shoulder. That’s quite disheartening after over seventeen years.

Well, I got married and we made a little more money so I thought I would be able to do more about my hair situation. A few weeks after our honeymoon, I became pregnant. With the surge of hormones and extra nutrients, my hair grew thicker but it still wouldn’t pass my shoulders. I gave birth in September 2013 and I experienced just a little of postpartum shedding because I was breastfeeding. I kept using my box perms and grease but my hair still wasn’t growing past my shoulders. I continued on this routine until October 2014. I started researching going natural but unwittingly started transitioning by not putting in a perm at all.

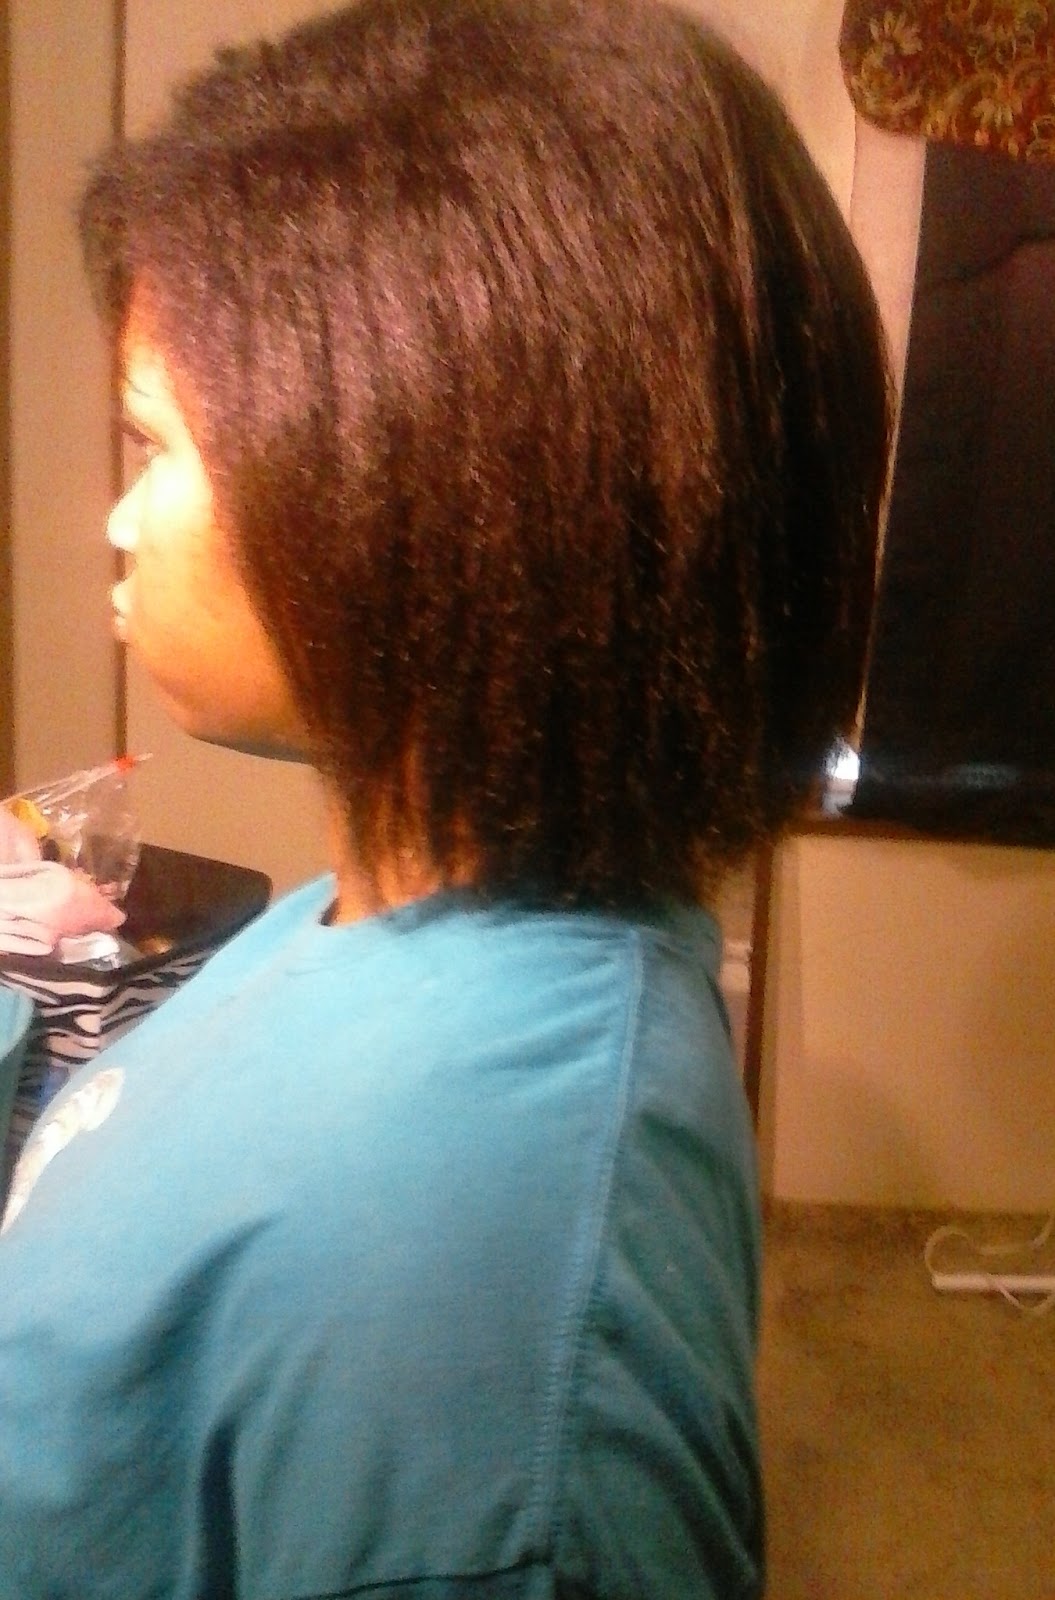
So here we are on March 3, 2015 and I have not put in another perm since November 2014. So far, my hair texture has changed quite drastically and I’ve been quite hopeful about the results. Right now I’m wearing box braids because I’ve found that it is better for me and my hair to not have to manipulate it too much while retaining the much needed moisture. I’ll have another blog about that.

Things I have already started learning on this journey:

1.       Moisture is KEY. My hair is much more manageable, healthy, shiny, and prettier when it is truly moisturized. I use a mixture of moisture butter, tea tree oil, water, and leave-in conditioner to lightly mist my hair twice a day. Because it is high porosity and the weather here is so crazy, my hair loves this. But you must learn what your hair likes.

2.       Protective styling is versatile. If you don’t like braids, there are many other options for those who choose to protectively style their hair. But during the protective style, you still need to take care of your hair. Protective styling doesn’t mean completely hands off for months.

3.       Patience is important. When starting this journey toward natural hair, know that your patience will undoubtedly be tested. This journey is not for those who want a quick fix; it will take time to get your hair to its true potential. Just like anything else worthwhile, it takes work, sweat, and patience to reach your hair goal.

4.       Once you start your healthy hair journey, your confidence level will be tested as well. Embracing your natural curls, coils, or kinks will force you to become truly at ease in yourself and your hair. How you view your hair will affect how others view your hair, but the only person’s opinion who truly matters is YOURS because YOU are the one who has to wear it.


I’m not saying I have all the answers, and I am far from an expert. But maybe we can learn from each other. Now, let’s get started, shall we?